Teacher Resource Room
Graphic Organizers
Goal/Objective:
Students think analytically to create their own graphic organizers on selected
topics.
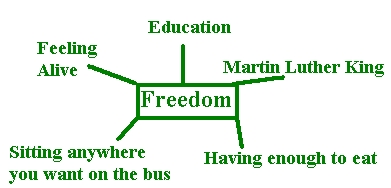
Sample

Description:
Students draw a graphic organizer and enter text using a graphics program.
Materials:
-
Computers with Paint (or KidPix or Hyperstudio) software.
Procedure:
-
First, have students think through and draw out their graphic organizer
on paper. When they come to the lab, they'll be ready.
-
Go to the Start Menu and go to Programs, then
go to Accessories, and select Paint.
-
Use the solid line and the square tool or oval tool to make lines and bubbles
for text.
-
Click on the "A" tool to enter text. Draw a square where you want
to write the text, and start typing.
-
Use the Text Toolbar to change the size and font of the text.
If the Text Toolbar is not showing, go to the View
menu and select Text Toolbar.
-
Work small - remember that the whole graphic has to fit on one 8 1/2 by
11 page.
-
For directions using KidPix or Hyperstudio, see the Technology
Resource Teacher.
