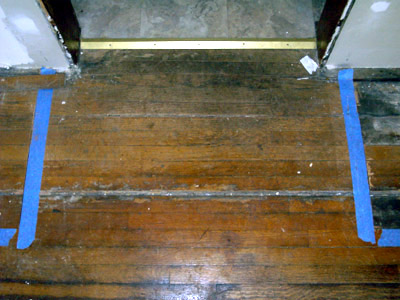
The four pictures below show the hardwood-flooring project in the doorway between our dining room and kitchen. The "before" picture (upper left) shows the massive gap between the hardwood boards, but doesn't adequately illustrate how warped the floor was. In order to fix it, I had to replace not only the oak, but also some of the wood beneath it.
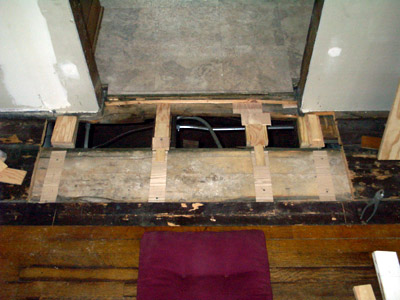
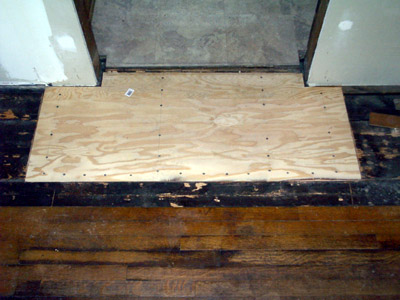
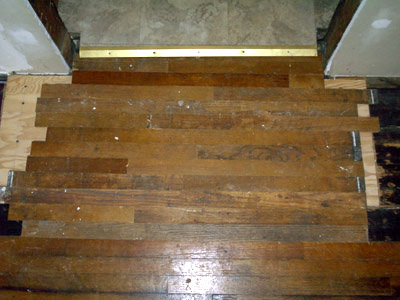
The first "during" picture (upper right) shows the tongue-in-groove pine (black) which I had to cut away, the partially missing subflooring (light gray), and the stacks of wood and shimstock I attached to the joists in order to support the plywood (which is shown in the second "during" photo, lower left). The lower right photo, "after," is the hardwood reattached to the plywood. I didn't use all the same boards that were there before--I was only able to save about half.
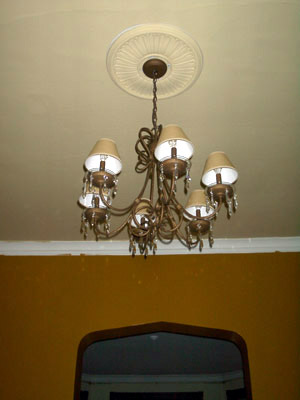
I tore out the hardwood because cabinets are going to cover this wall. Installation is scheduled for early August, 2003. In the meantime, the picture below is the chandelier-type-thing we installed in the room; you can also see the paint colors we chose. The wall color isn't as dark as it looks. The archway visible in the photo leads to the living room.
For a little perspective on this project, here's the history. When we bought the house, the dining room had cheap (but new) carpet on the floor, cheap paneling on two walls, and a cheap hanging light fixture which was off-center from the doorway and windows. It also had no electrical outlets. It was livable but not elegant.
We tore out the carpet and had it installed in a bedroom upstairs (which had REALLY bad carpet). Beneath the carpet, we found that the 3/8" thick oak flooring was warped and separated near one edge because the "spine" of the house, the main beam the joists attach to, was about one foot to the side of a loadbearing wall. All the joists on that side of the "spine" had sunk an inch or two. We tore down the paneling and found good plaster behind it on one wall, and unrepairable plaster behind it on another. There was also a previously-undiscovered doorway, providing us with a walk-through coat closet. So we tore down that plaster (what a staggering mess) and replaced it with drywall (visible in the four photos above). We also yanked out the overhead light and installed a different one (also above), complete with dimmer, at a position one foot sidways from the original. Now it's lined up with the doorway. We are also in the process of stripping the paint off the window trim and baseboards, to be repainted white. We are putting in these cabinets all along the wall shared with the kitchen basically in order to hide the messed-up flooring.
Still to do, as of this writing: install the cabinets along the drywalled wall, put up the trim to make them look nice (wait till you see the arches), put up the track lighting, and refinish the hardwood.
Main page.
Home Improvement pages:
The living room window trim and paint.
The fireplace we had we had reconditioned to burn wood again.
The dining room floor repair and paint colors, and preparation for the cabinets.
A set of cabinets we installed in the dining room.
A set of French doors installed between our dining room and back porch.